Understanding lighting is crucial for impactful visual media; mastering intensity‚ color‚ and direction unlocks creative potential and elevates storytelling through illumination.
The Importance of Lighting in Visual Media
Lighting fundamentally shapes how viewers perceive images and videos‚ dictating mood‚ highlighting subjects‚ and creating depth. It’s not merely about visibility; it’s a powerful narrative tool. Poor lighting can ruin even the best composition‚ while skillful illumination elevates ordinary scenes.
Consider how different lighting styles evoke distinct emotions – soft‚ diffused light for romance‚ harsh shadows for drama. Learning to control light allows you to guide the viewer’s eye‚ emphasize key elements‚ and establish a specific atmosphere.
Starting with a solid grasp of lighting fundamentals‚ like the Strobist approach‚ provides a methodical path to mastering off-camera flash and understanding how to shape light effectively. This foundational knowledge is invaluable‚ regardless of the chosen equipment or advanced techniques.
Understanding Light Qualities: Intensity‚ Color‚ and Direction
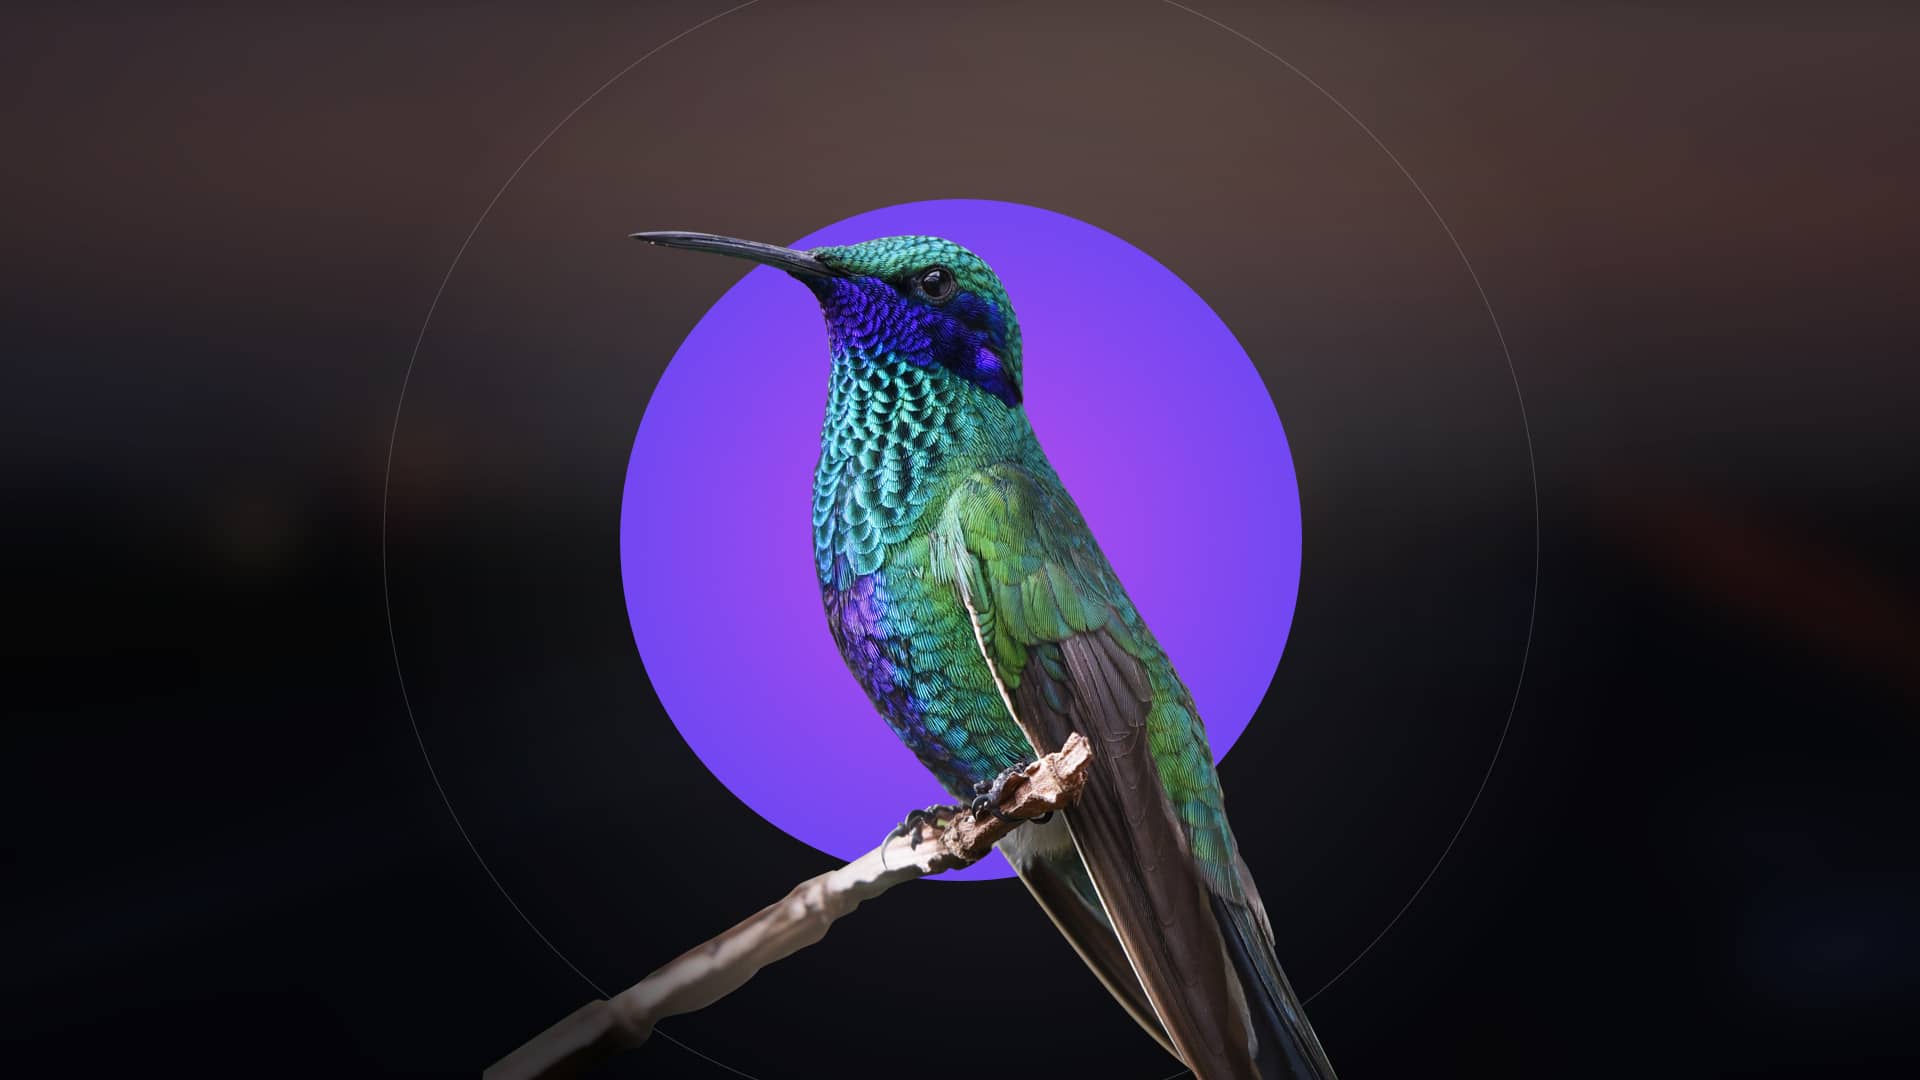
Light’s core qualities – intensity‚ color‚ and direction – dramatically impact an image. Intensity‚ or brightness‚ establishes the overall mood and visibility. Higher intensity creates contrast and drama‚ while lower intensity fosters softness and subtlety. Color temperature‚ measured in Kelvin‚ influences the warmth or coolness of the light‚ affecting the emotional tone.
Direction dictates shadows and highlights‚ defining form and depth. Front lighting minimizes shadows‚ while side lighting emphasizes texture. Backlighting creates silhouettes and rim light. Mastering these qualities is crucial.
Begin by experimenting with a single light source‚ observing how changes in these qualities alter the scene. Resources like Strobist offer structured learning‚ building from basic setups to more complex manipulations of light’s fundamental characteristics.
Types of Lighting Sources
Exploring both natural sunlight and artificial options—strobes‚ speedlights‚ and continuous lights—provides versatility for photographers seeking creative control and optimal results.
Natural Light: Utilizing Sunlight Effectively
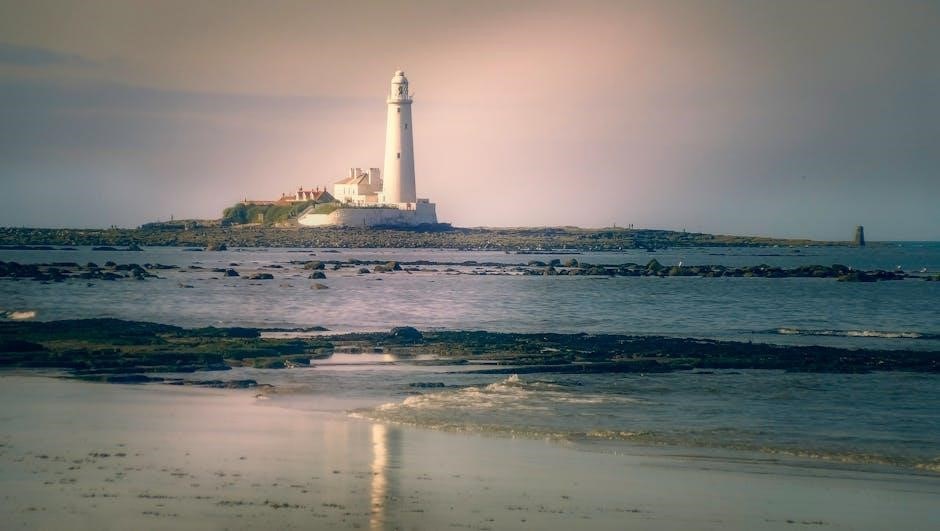
Harnessing sunlight offers a fantastic‚ free starting point for learning lighting fundamentals. Window light‚ in particular‚ is incredibly valuable‚ providing a soft and directional source. Observe how the quality of light changes throughout the day – the golden hours around sunrise and sunset deliver warm‚ flattering tones‚ while midday sun can be harsh and require diffusion.
Positioning your subject near a window allows you to control shadows and highlights. Experiment with different angles and distances to achieve desired effects. Reflectors can bounce sunlight to fill in shadows‚ creating a more balanced illumination. Understanding how light interacts with surfaces and shapes is key to mastering natural light photography. Don’t underestimate the power of overcast days‚ as they provide beautifully soft‚ diffused light‚ ideal for portraits and detailed shots.

Artificial Light: Strobes‚ Speedlights‚ and Continuous Lighting
Transitioning to artificial light unlocks greater control and consistency. Strobes (or studio flashes) deliver powerful bursts of light‚ ideal for freezing motion and overpowering ambient light. Speedlights‚ smaller and more portable‚ offer versatility for on-camera or off-camera use‚ often with TTL (Through-The-Lens) metering for automatic exposure.
Continuous lighting‚ like LED panels‚ provides a constant light source‚ simplifying visualization of shadows and highlights. While less powerful than strobes‚ continuous lights are excellent for video and learning lighting principles. Starting with a single speedlight and modifier (like an umbrella or softbox) is a cost-effective approach. Third-party options‚ such as Godox/Flashpoint‚ provide excellent value compared to camera brand equivalents. Remember to consider compatibility‚ especially with Sony cameras‚ where flash foot fragility can be a concern.

Off-Camera Flash Techniques
Exploring off-camera flash expands creative control‚ allowing for dynamic lighting setups and separation from the camera for more flattering results.
The Strobist Approach: A Step-by-Step Learning Method
The Strobist approach provides a methodical pathway for mastering off-camera flash‚ beginning with a simple‚ single-light setup. This foundational step emphasizes understanding light shaping and placement before introducing complexity. Progressing to a two-light configuration builds upon this base‚ adding depth and dimension to your images.

This learning method isn’t the sole option available‚ but its structured progression is highly effective. Complementary resources like Skillshare‚ LinkedIn‚ and YouTube offer video tutorials and targeted content on specific techniques‚ backdrops‚ and gels. Starting with a single flash and modifier is crucial; avoid overwhelming yourself with multiple lights initially.
Remember‚ learning to walk before you run is invaluable in lighting. The Strobist method often recommends the Godox TT600‚ but the TT685 is a superior choice due to its TTL capabilities. Sony users should exercise caution when swiveling Godox speedlight heads‚ as the flash foot can be fragile.

Single Light Setup: Mastering the Basics
Beginning with a single flash and modifier is paramount for grasping fundamental lighting principles. This approach allows focused attention on light shaping‚ direction‚ and its impact on your subject. A speedlight mounted on a stand‚ paired with an umbrella or softbox‚ replicates strobe functionality while offering versatility – it can also be used for on-camera bounce flash.
Prioritize understanding how a single light source creates shadows and highlights. Experiment with positioning; observe how subtle adjustments alter the mood and dimension of your images. This foundational skill is transferable to more complex setups. Don’t rush into multiple lights before mastering this core concept.
Remember‚ third-party speedlights like Godox (or Flashpoint at Adorama) provide excellent value without the premium price of camera brand equivalents. The Godox TT685 is a recommended starting point‚ offering TTL functionality for convenient exposure control.
Two-Light Setup: Adding Depth and Dimension
Expanding beyond a single light introduces depth and separation‚ transforming flat images into visually compelling scenes. A common starting point involves a key light – your primary illumination source – and a fill light; The fill light softens shadows created by the key‚ controlling contrast and revealing detail.
Experiment with power ratios between the key and fill. A higher key-to-fill ratio creates dramatic shadows‚ while a lower ratio yields a softer‚ more even look. Consider light placement; positioning the fill light opposite the key provides balanced illumination. Explore using different modifiers on each light for varied effects.
This setup builds upon the single-light foundation‚ demanding a solid understanding of light shaping. Mastering two lights unlocks creative control‚ allowing you to sculpt your subject and direct the viewer’s eye effectively.
Light Modifiers: Shaping the Light
Modifiers like softboxes‚ umbrellas‚ gels‚ and cookies alter light characteristics‚ controlling its spread‚ color‚ and texture for desired artistic effects.
Softboxes: Creating Soft‚ Diffused Light
Softboxes are enclosures around a light source designed to create a soft‚ diffused illumination‚ minimizing harsh shadows and specular highlights. They achieve this by bouncing the light off internal reflective surfaces‚ then through a translucent front fabric. The larger the softbox relative to the subject‚ the softer the light will be.
Different shapes – square‚ rectangular‚ octagonal – produce varying wrap-around effects. Rectangular softboxes are often favored for portraits‚ mimicking window light‚ while octagonal ones create a more natural‚ circular catchlight in the eyes.
Softboxes are incredibly versatile and suitable for a wide range of photography genres‚ including portraiture‚ product photography‚ and even fashion. They’re a foundational tool for controlling light quality and achieving a polished‚ professional look. Investing in a quality softbox is a significant step towards mastering studio lighting.
Umbrellas: A Versatile and Affordable Option
Umbrellas represent a cost-effective and remarkably versatile solution for modifying light in photography. Available in shoot-through and reflective varieties‚ they offer distinct characteristics. Shoot-through umbrellas allow light to pass directly through the fabric‚ creating a softer‚ more diffused effect‚ though less controlled than a softbox.
Reflective umbrellas‚ lined with a reflective material (silver‚ white‚ or gold)‚ bounce the light forward‚ providing a broader spread and a slightly more directional quality. Silver offers higher contrast‚ white provides a softer‚ neutral tone‚ and gold adds warmth.
Their portability and ease of setup make umbrellas ideal for location shoots or photographers on a budget. While not offering the same level of precision as softboxes‚ they remain a valuable tool for shaping light and achieving professional results.
Gels and Cookies: Adding Color and Texture
Gels‚ transparent colored filters‚ dramatically alter the color of your light source‚ enabling creative effects and mood setting. They can simulate different times of day‚ add dramatic flair‚ or match ambient lighting. Available in a wide spectrum of colors‚ gels easily attach to strobes or speedlights.

Cookies‚ also known as gobos‚ are stencils placed between the light source and the subject‚ projecting patterns of light and shadow. These patterns add texture‚ depth‚ and visual interest to your images‚ simulating effects like window blinds or foliage.
Combining gels and cookies unlocks a world of creative possibilities‚ allowing photographers to sculpt light with both color and texture‚ enhancing storytelling and artistic expression within their work.

Choosing the Right Equipment
Selecting the appropriate gear—speedlights‚ strobes‚ or Godox systems—depends on budget and needs; consider Sony compatibility‚ prioritizing TTL functionality for versatile control.
Speedlights vs. Strobes: Pros and Cons
Speedlights offer portability and affordability‚ functioning both on-camera and off‚ making them ideal for beginners and event photographers. Their quick recycle times are advantageous for fast-paced shooting‚ and they’re compatible with various modifiers like umbrellas and softboxes. However‚ speedlights generally have lower power output compared to strobes‚ potentially limiting their effectiveness in bright conditions or with larger modifiers.
Strobes‚ conversely‚ deliver significantly more power‚ enabling wider coverage and the use of larger modifiers for dramatic lighting effects. They excel in studio settings or situations demanding substantial illumination. The downside is their higher cost‚ increased size and weight‚ and slower recycle times. Strobes typically require external power sources‚ adding to the complexity of setup and transport. Ultimately‚ a speedlight is a great starting point‚ offering versatility before investing in the power of strobes.
Godox/Flashpoint Systems: Budget-Friendly Alternatives
Godox (and its rebranded counterpart‚ Flashpoint at Adorama) provides remarkably capable lighting equipment at accessible price points‚ challenging established brands. Their speedlights‚ like the TT685‚ offer features comparable to OEM options from camera manufacturers – including TTL functionality – without the premium cost. This makes them an excellent choice for photographers seeking quality without breaking the bank.
These systems encompass a wide range of strobes‚ modifiers‚ and accessories‚ creating a comprehensive ecosystem for building a complete lighting setup. While some users report tighter heads on Godox speedlights‚ particularly with Sony cameras requiring careful handling to avoid damaging the hot shoe foot‚ the cost savings often outweigh this minor concern. Investing in Godox/Flashpoint allows photographers to explore off-camera flash techniques without significant financial commitment.
Considerations for Sony Cameras and Flash Compatibility
Sony camera users should be aware of potential compatibility nuances when selecting third-party flashes‚ specifically Godox speedlights. The heads on these units can be quite tight‚ requiring considerable force to swivel them into different positions. This can pose a risk to the flash foot – the part connecting to the camera’s hot shoe – potentially leading to breakage.
While the flash foot is easily replaceable for around $20‚ preventative care is advisable. Apply gentle but firm pressure when adjusting the flash head‚ avoiding excessive force. Despite this minor drawback‚ Godox speedlights remain a cost-effective and feature-rich option for Sony photographers. Prioritizing careful handling ensures a reliable and affordable lighting solution‚ maximizing creative control without compromising equipment integrity.

Advanced Lighting Techniques
Explore high-speed sync (HSS) and TTL for dynamic control‚ then master backlighting and rim lighting to sculpt subjects with dramatic‚ professional effects.
High-Speed Sync (HSS) and TTL
High-Speed Sync (HSS) allows flash synchronization with shutter speeds faster than your camera’s typical sync speed‚ overcoming motion blur and enabling wider apertures in bright conditions. This is invaluable for outdoor portraits where you want a shallow depth of field without overexposing the image.
TTL (Through-The-Lens) metering automates flash power settings‚ letting your camera communicate with the flash to achieve proper exposure. While convenient‚ it’s not always perfect and often requires exposure compensation. Starting with manual control builds a stronger understanding of light‚ but TTL is a useful tool for rapidly changing situations.
Experimenting with both HSS and TTL‚ alongside manual settings‚ provides a versatile skillset. Remember that third-party flashes like Godox offer excellent TTL compatibility‚ though Sony users should exercise caution with the flash foot’s durability.
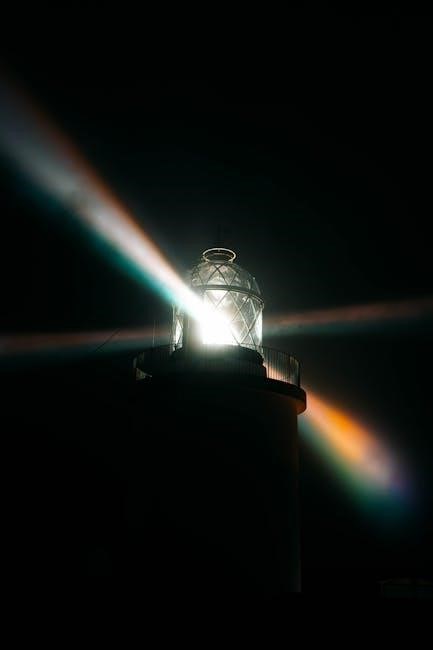
Backlighting and Rim Lighting
Backlighting‚ positioning the light source behind the subject‚ creates separation from the background and a dramatic mood. It can produce silhouettes or‚ with careful exposure‚ a glowing effect. Mastering backlighting requires balancing the light to avoid underexposing the subject’s face.
Rim lighting‚ a specific type of backlighting‚ outlines the subject’s edges with a bright highlight‚ further enhancing separation. This technique is particularly effective for showcasing texture and form‚ adding depth and dimension to your images.
Experiment with feathering the light – angling it slightly away from the camera – to control the width and intensity of the rim. Combining back/rim lighting with a fill light can balance the exposure and reveal details in the shadows‚ resulting in captivating portraits.